
使用 vitepress 部署到 github pages
主要用到的是 GitHubActions 自动化部署功能。有不懂的可以看看这个GitHubActions 详解
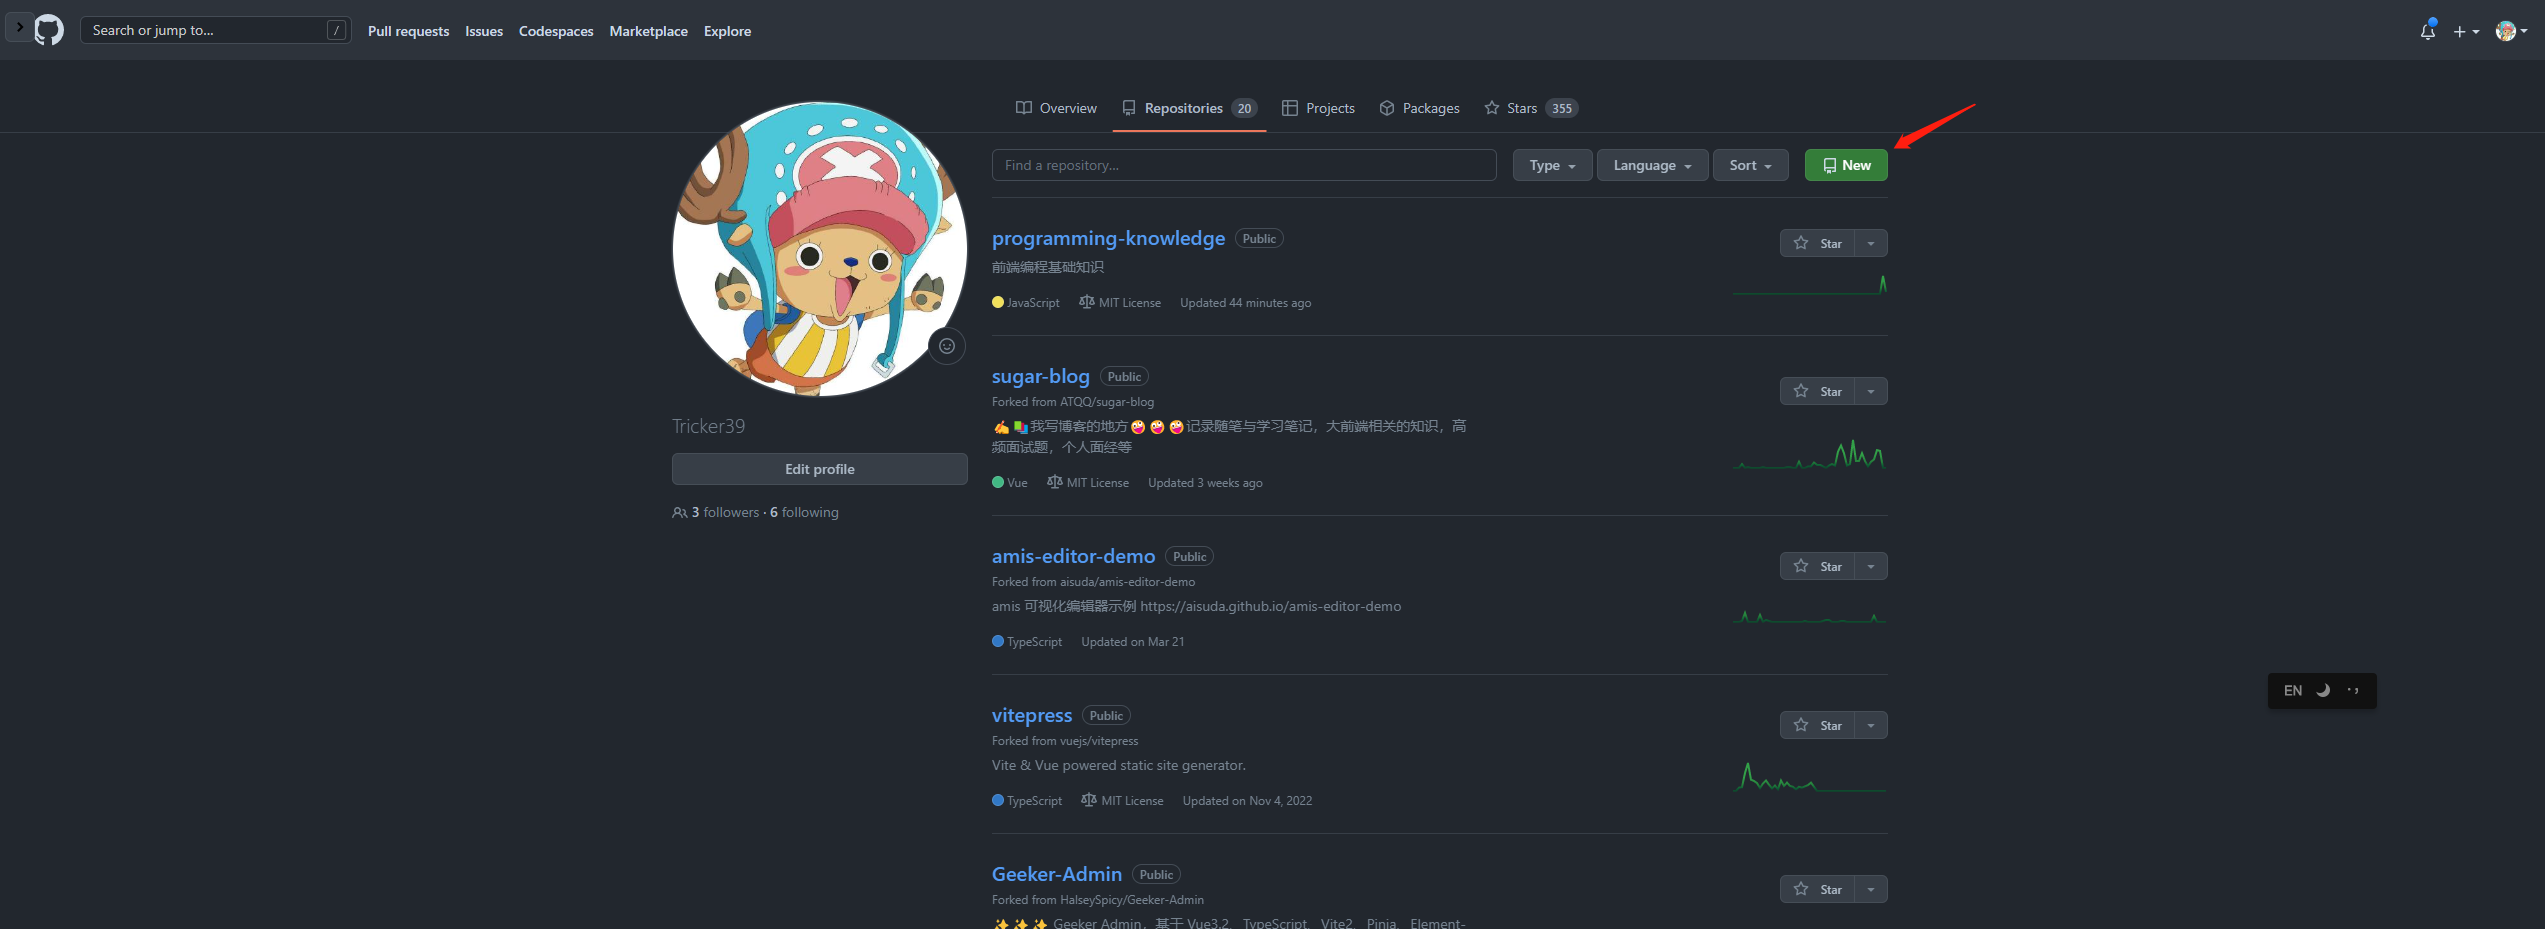
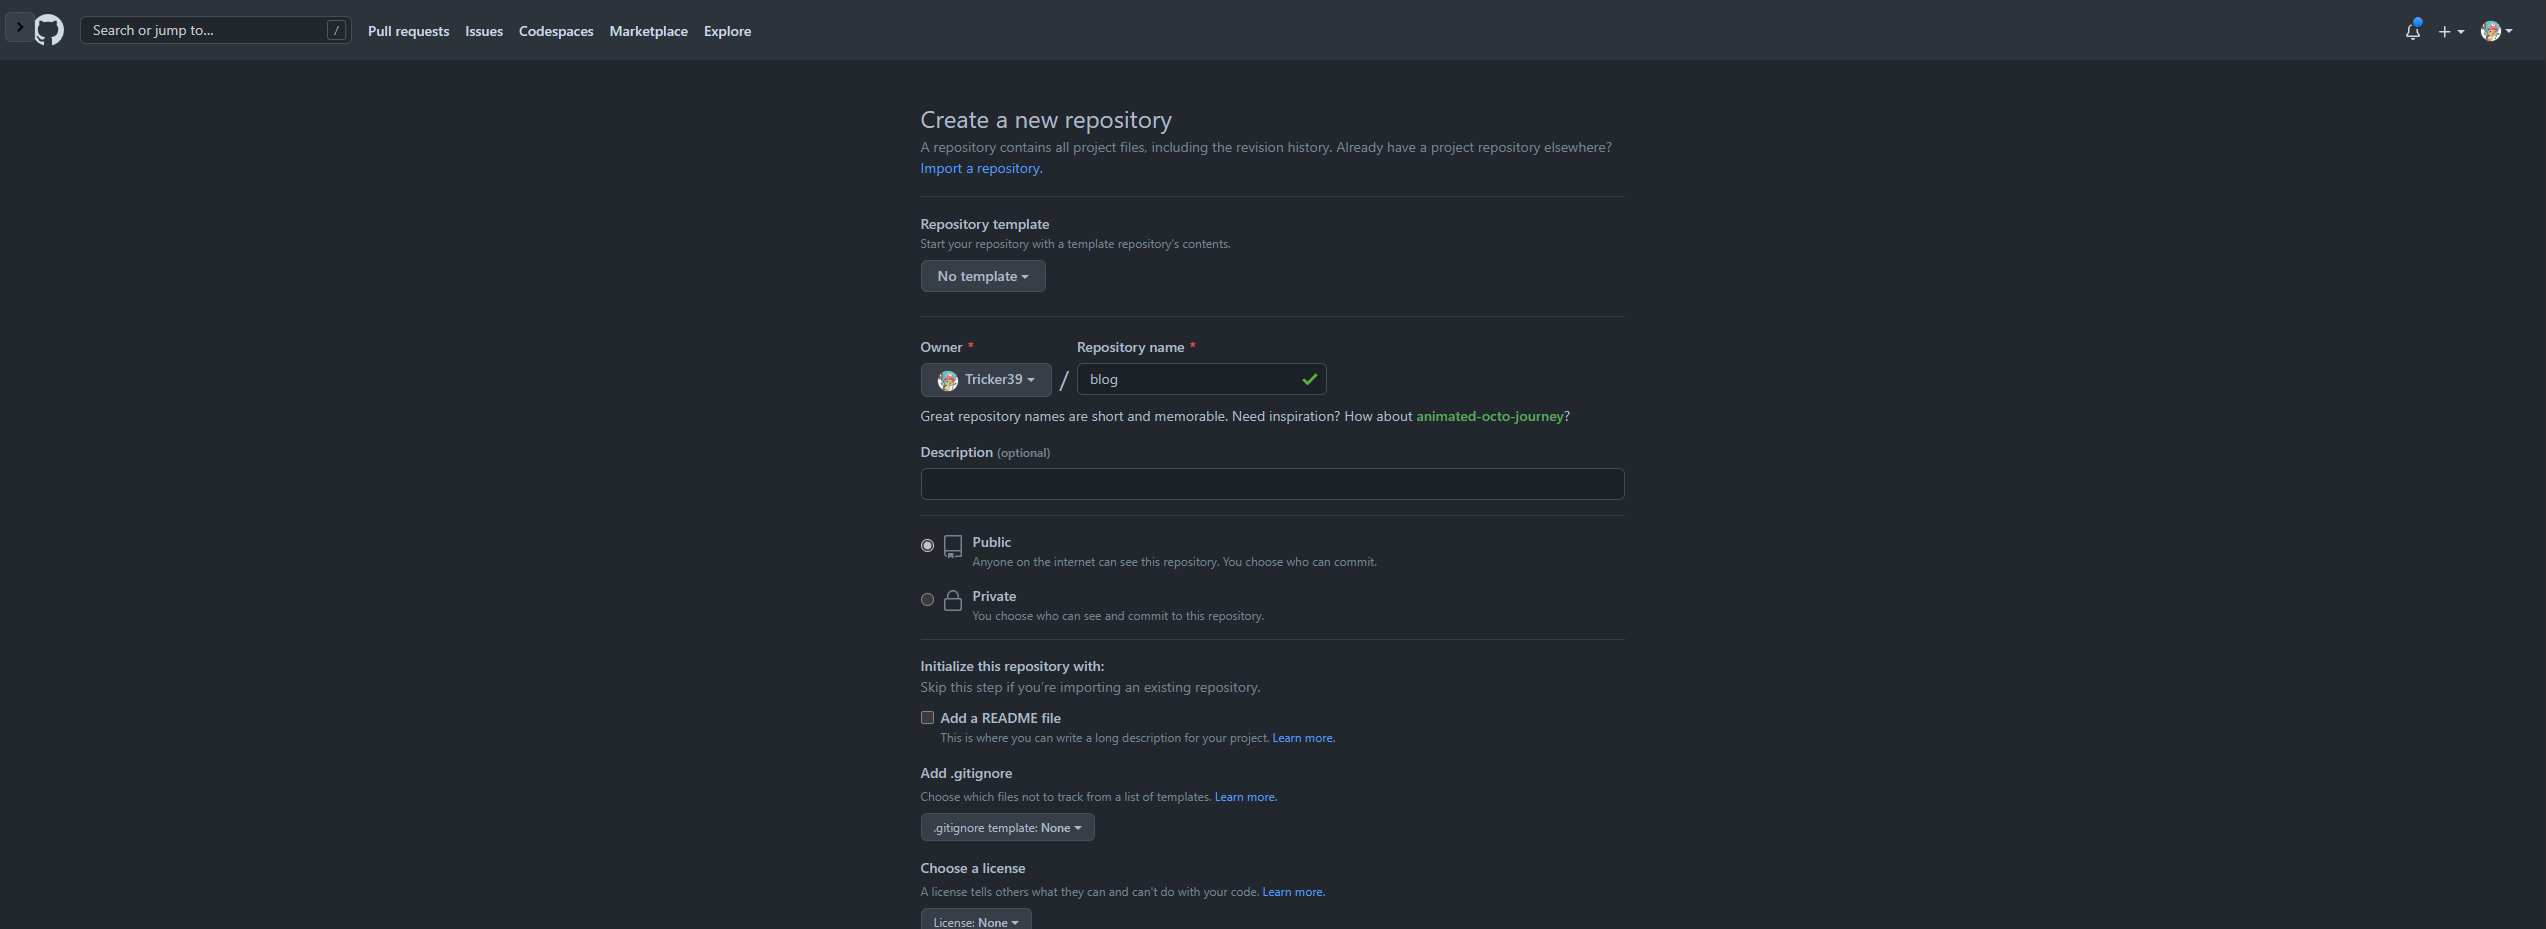
github 创建一个仓库
为仓库命名为 blog
克隆项目到本地
shell
$ git clone https://github.com/Tricker39/blog.git创建 vitepress 项目
shell
$ npm install -D vitepress写入第一个文档
shell
$ mkdir docs && echo '# Hello VitePress' > docs/index.md在 package.json 加入执行脚本
json
{
  // ...

  "scripts": {
    "docs:dev": "vitepress dev docs",
    "docs:build": "vitepress build docs",
    "docs:serve": "vitepress serve docs"
  }

  // ...
}添加 .gitignore 文件
.DS_Store
node_modules/
dist/
npm-debug.log*
yarn-debug.log*
yarn-error.log*
**/*.log

tests/**/coverage/
tests/e2e/reports
selenium-debug.log

# Editor directories and files
.idea
.vscode
*.suo
*.ntvs*
*.njsproj
*.sln
*.local


# package-lock.json
# yarn.lock


/coverage
/src/client/shared.ts
/src/node/shared.ts
*.log
*.tgz
.DS_Store
.idea
.temp
.vite_opt_cache
.vscode
dist
cache
temp
examples-temp
node_modules
pnpm-global
TODOs.md添加配置文件
在 /docs/.vitepress 文件夹下(如果没有 .vitepress 文件夹可以手动添加)创建 config.js 的配置文件。
最主要的是要配置 base , base 的配置需要前后都用 / 包围,而且 base 的路径需要与上面的仓库名 blog 一样,这样发布之后才不会有问题。
javascript
import { defineConfig } from 'vitepress';

export default defineConfig({
  base: `/blog/`,
  lang: 'zh',
  lastUpdated: true,

  cleanUrls: 'without-subfolders',

  markdown: {
    theme: { light: 'vitesse-light', dark: 'vitesse-dark' },
    lineNumbers: true,
    headers: {
      level: [0, 0],
    },
  },

  themeConfig: {
    outline: [2, 3],
    outlineTitle: '本页目录',
    lastUpdatedText: '上次修改时间',
    darkModeSwitchLabel: '主题',
    sidebarMenuLabel: '菜单',
    returnToTopLabel: '返回顶部',
    langMenuLabel: '语言切换',
    search: {
      provider: 'local',
    },
    socialLinks: [
      {
        icon: 'github',
        link: 'https://github.com/Tricker39/programming-knowledge',
      },
    ],
  },
});上述配置只做简单的配置,其他配置请参考 vitepress 官网。
代码提交
可以直接在 vscode 上面提交代码,也可以使用其他工具。
部署到 github pages

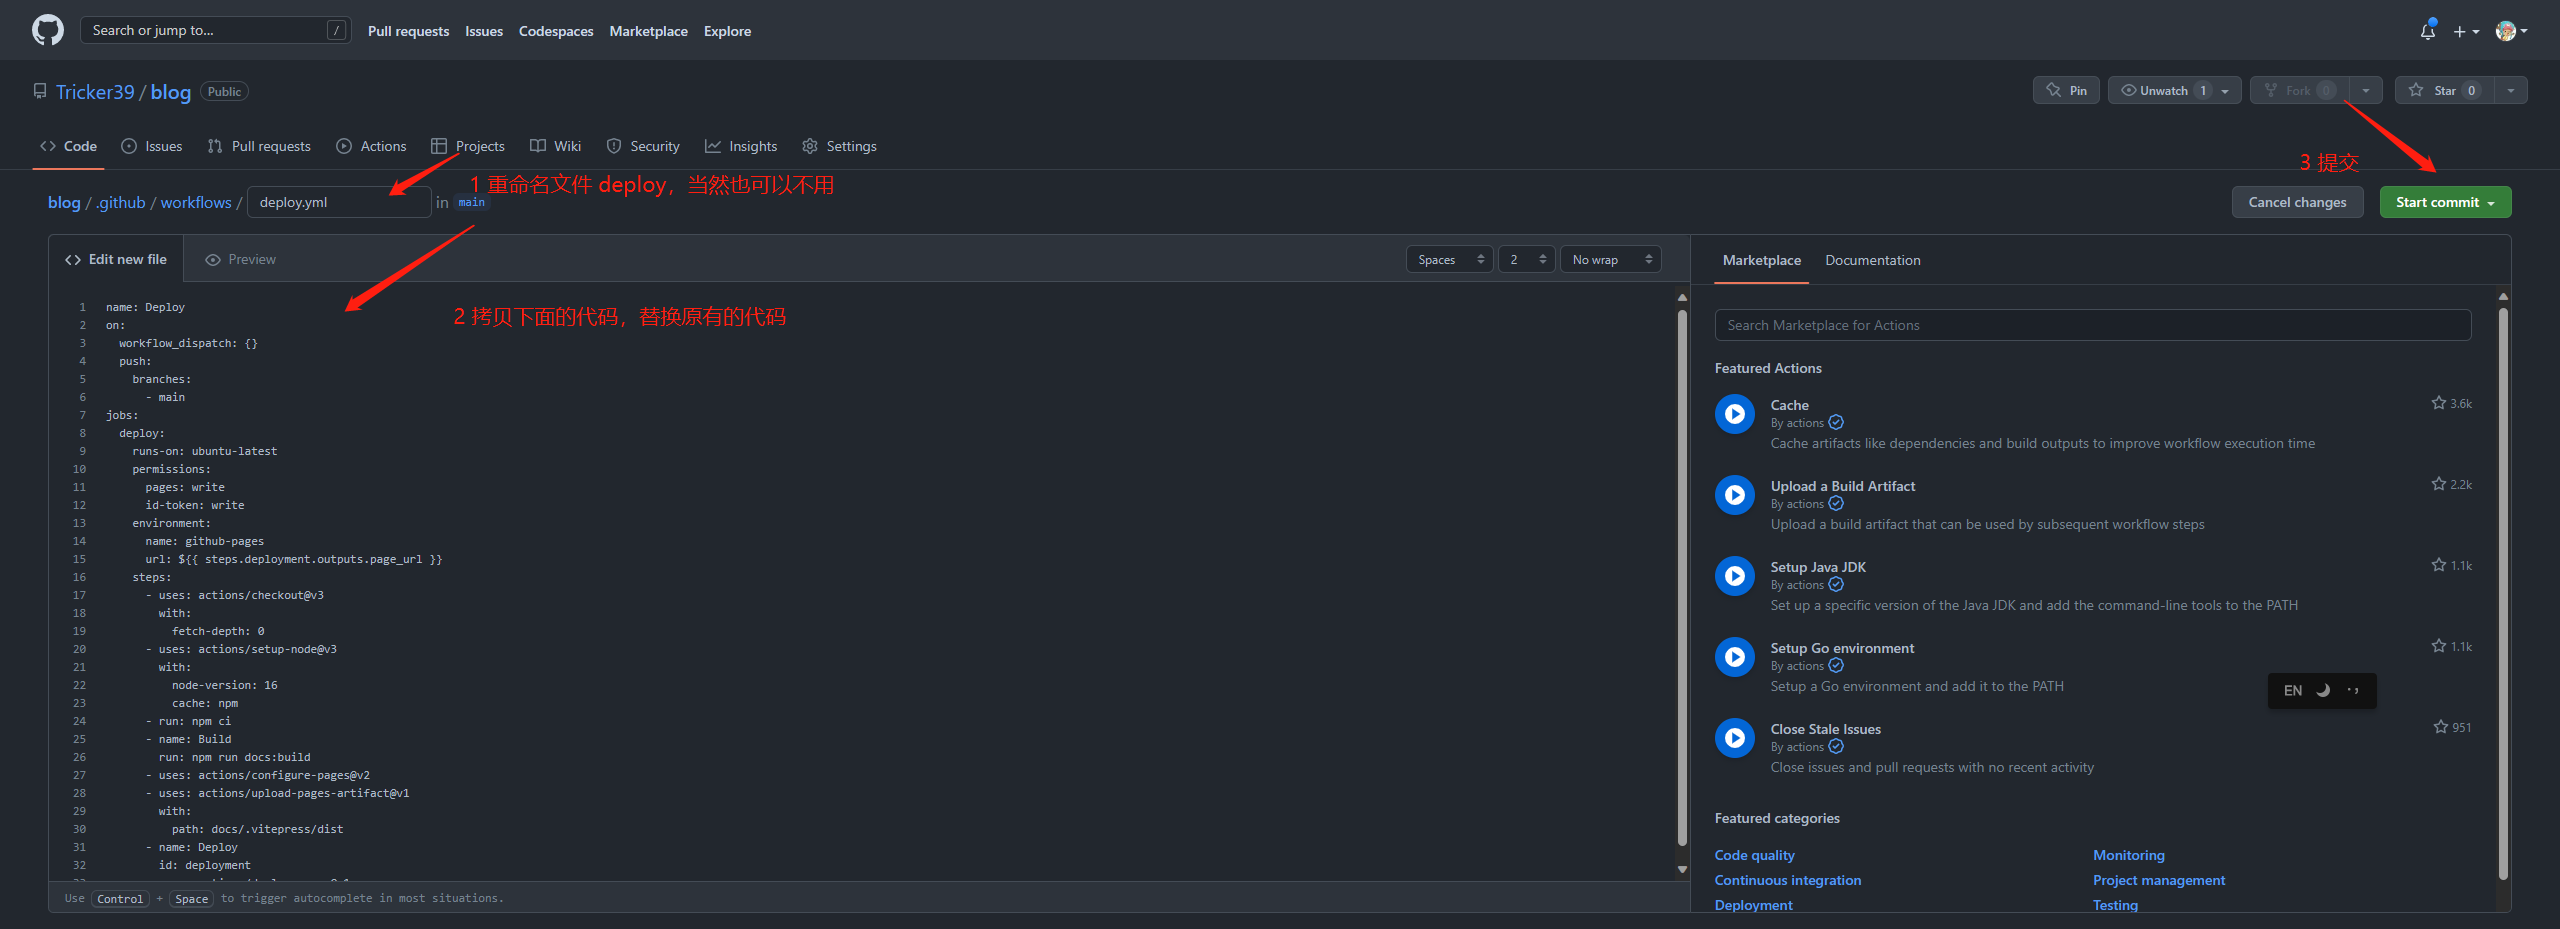
我当前的分支是 main,所以下面的分支配置成 main。
yaml
name: Deploy
on:
  workflow_dispatch: {}
  push:
    branches:
      - main
jobs:
  deploy:
    runs-on: ubuntu-latest
    permissions:
      pages: write
      id-token: write
    environment:
      name: github-pages
      url: ${{ steps.deployment.outputs.page_url }}
    steps:
      - uses: actions/checkout@v3
        with:
          fetch-depth: 0
      - uses: actions/setup-node@v3
        with:
          node-version: 16
          cache: npm
      - run: npm ci
      - name: Build
        run: npm run docs:build
      - uses: actions/configure-pages@v2
      - uses: actions/upload-pages-artifact@v1
        with:
          path: docs/.vitepress/dist
      - name: Deploy
        id: deployment
uses: actions/deploy-pages@v1如果你的分支是其他名字,就配置成你的分支名(如你的分支名是 master,就把分支分支名改成 master。
yaml
name: Deploy
on:
  workflow_dispatch: {}
  push:
    branches:
      - main
      - master
jobs:
  deploy:
    runs-on: ubuntu-latest
    permissions:
      pages: write
      id-token: write
    environment:
      name: github-pages
      url: ${{ steps.deployment.outputs.page_url }}
    steps:
      - uses: actions/checkout@v3
        with:
          fetch-depth: 0
      - uses: actions/setup-node@v3
        with:
          node-version: 16
          cache: npm
      - run: npm ci
      - name: Build
        run: npm run docs:build
      - uses: actions/configure-pages@v2
      - uses: actions/upload-pages-artifact@v1
        with:
          path: docs/.vitepress/dist
      - name: Deploy
        id: deployment
uses: actions/deploy-pages@v1等待几分钟,github 会自动帮你部署,就可访问了
https://tricker39.github.io/blog/
文件结构
最终展示一下文件结构
.
├─ .github // 部署相关
│  ├─ workflows
│  │  ├─ deploy.yml
├─ docs
│  ├─ .vitepress
│  │  ├─ config.js // 打包配置的文件
│  ├─ index.md
├─ .gitignore
├─ package.json
└─ package-lock.json